
Growing plants from seeds is fun, lots of fun, and growing carnivorous plants from seeds is no exception. However the technique for growing wetland carnivorous plants is different from how you would grow typical garden plants. Do not start your carnivorous plants seeds the way you would start petunias and do not start your petunias the way would would start wetland carnivorous plants.
The instructions here are intended for tropical, subtropical, pygmy, woolly, and warm temperate Drosera, Drosera regia, Dionaea, warm temperate Pinguicula, Genlisea, and terrestrial Utricularia with digressions for cold temperate Drosera, Sarracenia, Darlingtonia, Cephalotus, Mexican and cold temperate Pinguicula, epiphytic Utricularia, and Nepenthes.
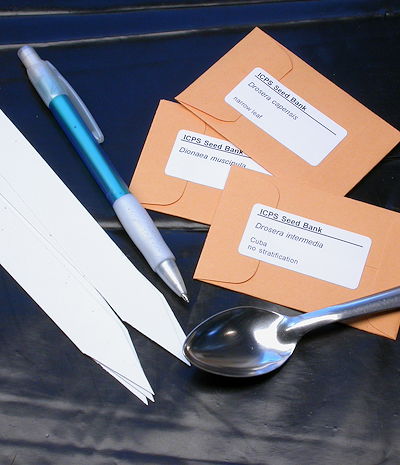
Step one is to get all your material and tools together in a place you can get messy. I have a potting bench I made out of old redwood. You need plant tags, a soft pencil, and a planting spoon.
The plant tags I use are vinyl plastic, 3/4 x 6 inch, stock number 2766 from National Band and Tag. They work, unlike the ones you can buy in stores. To write on them use a #2 pencil or a mechanical pencil with 0.9 mm soft lead. Forget "permanent" felt pens. And the most important tool is a planting spoon.
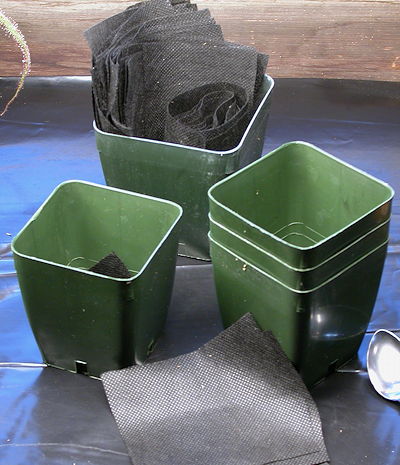
These pots are 3 1/4 inch (82 mm) wide designed to fit 3 by 6 in standard plant trays. You can not buy these exact ones any more but there are similar ones available. You can also use standard 3 1/2 inch (89 mm) tall pots. I use those for plants outside that are not in the standard plant trays. But any sturdy pot will work.
I block the drain holes with squares of polypropylene cloth weed block. The weed block helps keep the soil from leaking out into the water trays.
One more thing before you start planting... If you are starting seeds of Sarracenia, Darlingtonia, cold temperate Drosera, or cold temperate Pinguicula and you are not going to put the planted pots outside for the winter, you need to stratify the seeds in the refrigerator first.
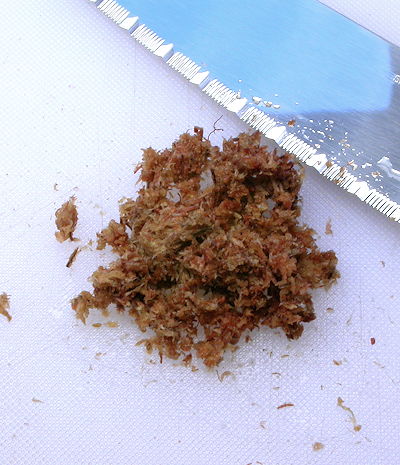
Put away your planting spoon and get out the cutting board and kitchen knife you keep on the shelf of your potting bench. Finely chop a small quantity of wet sphagnum moss.
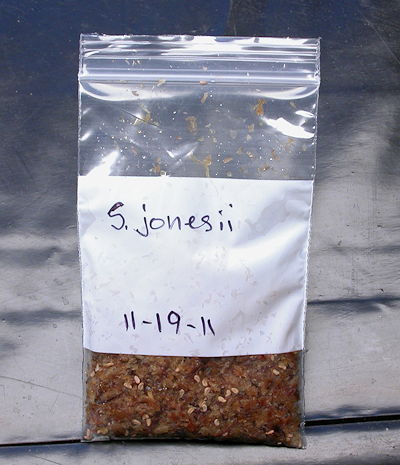
You will need small plastic bags like this or snack size ziploc bags for refrigerator stratification. Put the finely chopped sphagnum moss in the bag loosely then add the seeds. Try to distribute the seeds evenly in the moss. If you do not have sphagnum moss you can use peat. Squeeze wet peat in your hand to turn it into merely damp peat and use that.
Put the seeds in your refrigerator for 4 to 8 weeks depending on what the growing guides say for that species.
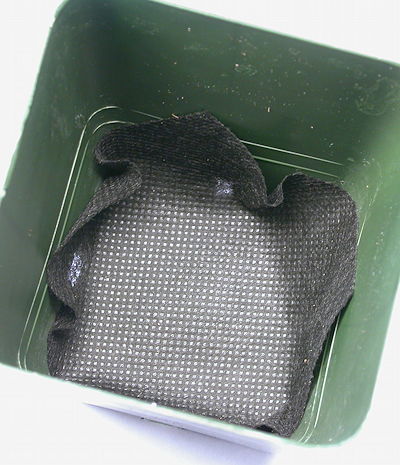
OK, now we are ready to start planting. Put the weed block squares in the bottom of the pots. You can cut the squares off rolls of weed block using a utility knife and a paper cutter.
Now onto soils... For Nepenthes I recommend coir. Coir is relatively sterile. Make sure you get a brand that says something like the coir "is exposed to rain water from at least three monsoon seasons" on the label. The usual blocks of coir you see in stores are too salty. Unfortunately most carnivores do not like coir.
For Cephalotus I recommend chopped sphagnum moss because the seeds take so long to germinate.
Most epiphytic Utricularia do OK on peat but some really prefer pure chopped sphagnum moss.
Please see the growing guide on Mexican Pinguicula for the recommend soil mix.
Many growers wash their seed starting soil ingredients to help cut down on salts, nutrients, and weeds. This is an excellent idea, I only wish it was easier to do. Please see Rinsing Peat Moss and Sand (growsundews.com) for techniques. Keep in mind too that rain water collected off a roof and tap water from surface sources can also contain moss and other spores.
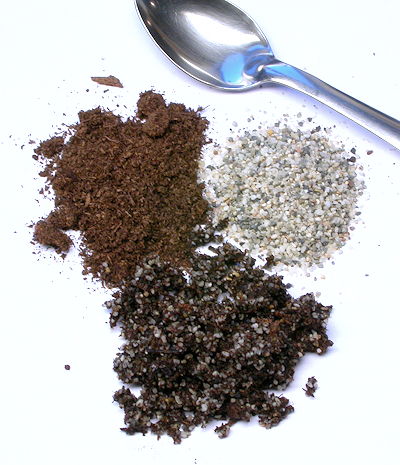
The default soil is a 1:1 mix of peat and sand. Some plants like the woolly Drosera and Drosera indica prefer a sandier mix. Dionaea and warm temperate Pinguicula appreciate a peatier mix.
Peat really is not that good for starting seeds but there is nothing I find that works better for growing most CPs. As far as I know there is no best brand although it might be best to stick with the most common brand that comes in huge bales. Make sure there is no added fertilizer in the peat. The biggest problem with peat is it spontaneously generates moss and other bryophytes. The advantage of peat is it is acidic and the plants do better in it than other media as long as the moss does not take over.
An option is to use finely chopped sphagnum moss in the top cm of the pot. This is probably best for seeds that take a long time to germinate. Both peat and sphagnum will have problems with cyanobacteria and quite often sphagnum is contaminated with sedge and other weed seeds.
The sand is #12 sand blasting sand. Do NOT use play sand, builders sand, or beach sand. Fine sand will pack much too tightly. Sand blasting sand is washed and has even grain sizes. "#12" means 12 mesh which means it is sieved with a mesh of 12 wires per inch. #14 and #16 mesh sand is also good.
Please see Peat, Sand, Perlite and Sphagnum Moss for more information on soils and soil mixes.
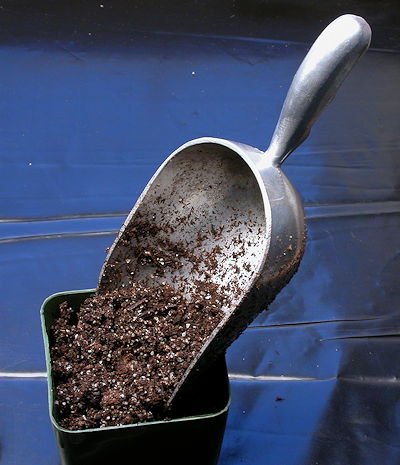
I mix the peat and sand in a 5 gallon bucket. It is best to work with it damp, not wet. Transfer the soil mix from the bucket to the pots using your kitchen scoop. Loosely fill the pot to the top.
Do not leave the scoop in the bucket for a long time. The peat reacts with the aluminum scoop so make sure you clean it after you are done.
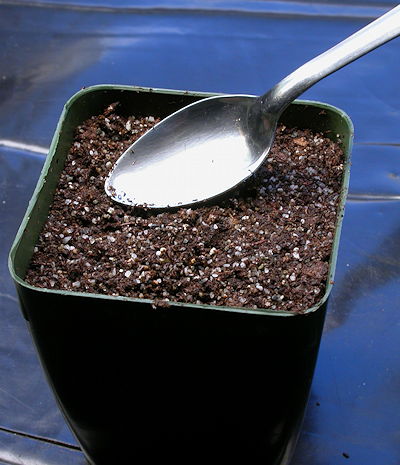
Lightly pack and smooth the soil surface with your planting spoon. Do not pack tightly as the soil will expand when it is saturated with water later.
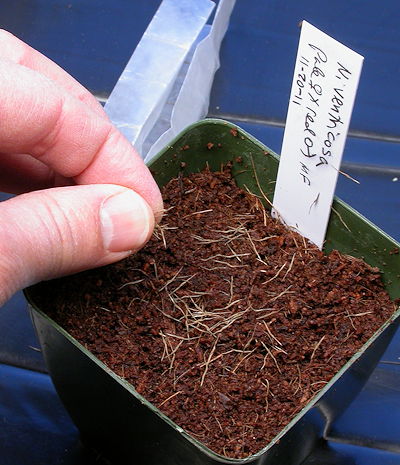
Write what you are planting and the date on a plant tag and put it along the side of the pot. Then distribute the seeds in the pot. These are Nepenthes seeds and the soil is pure coir.
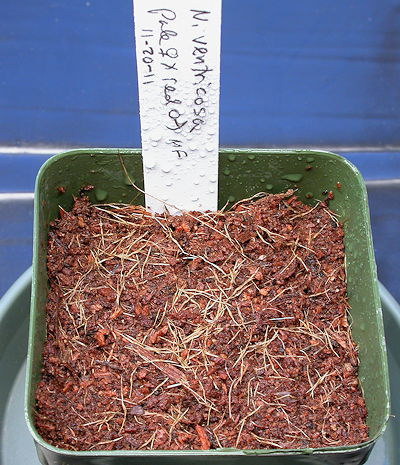
Lightly mist the seeds and soil.
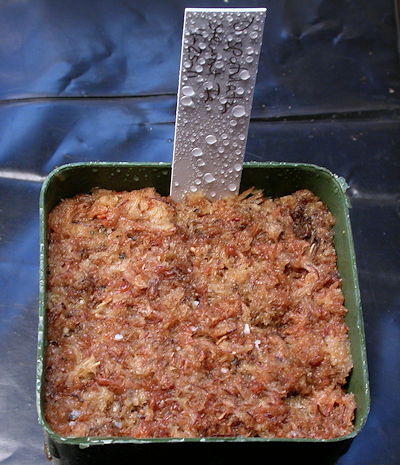
This pot has 1 cm of a chopped sphagnum/sand mix over a peat/sand mix. A final layer of pure chopped sphagnum on top is sprayed with water before sowing seeds so sphagnum expands to trap seeds.
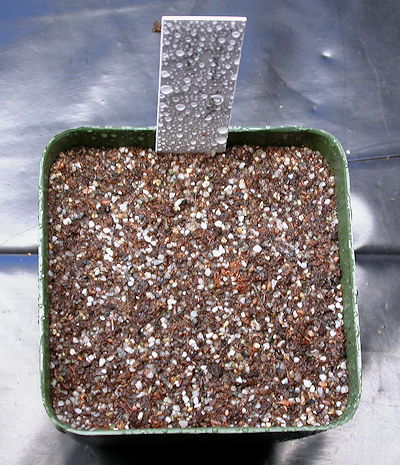
This is what it will look like after misting a pot of Drosera seeds in a peat sand mix.
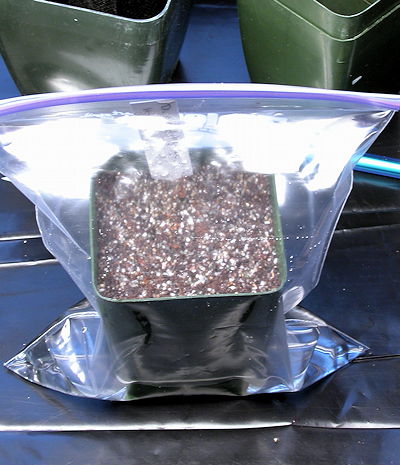
Put some water in the bottom of a plastic bag and put the pot with the seeds in the bag. You need the water because the peat mix was not fully saturated. Check back later to make sure there is a little water left in the bottom to make sure you put in enough.
Instead of plastic bags you can use an old aquarium with plastic wrap on the top, a clear plastic storage box, or anything else convenient.
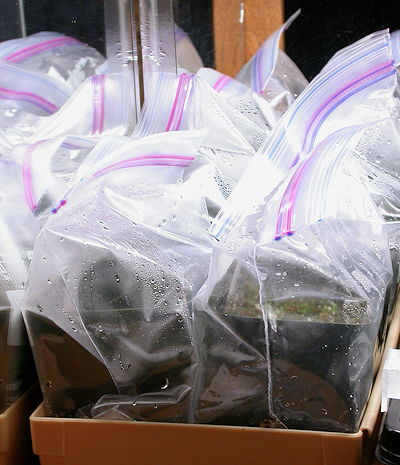
Put the pots with the seeds under fluorescent lights. Now you wait and wait and wait. Check the seeds every few weeks. Sometimes I lightly spray the surface to encourage sprouting. Nepenthes especially appreciate being sprayed and weekly is not too often.
Or if you are overwintering the pots outside, put them out in a location without direct sun.
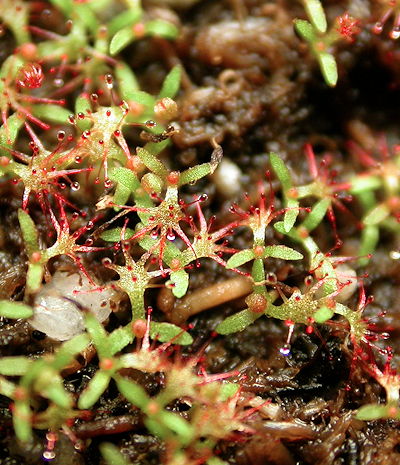
Drosera aliciae seedlings.
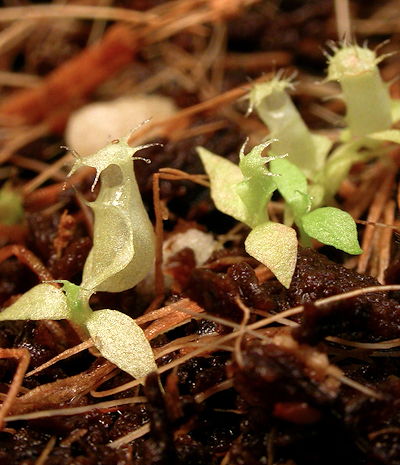
Nepenthes seedlings. Nepenthes is relatively easy to grow from seed if you have fresh seed and do not mind taking 3 years to get big plants. The older the seed of Nepenthes, the longer it takes to germinate. Past a certain age it never germinates. A year after this photo was taken, the plants were finally large enough to be potted out into 6 cm pots.
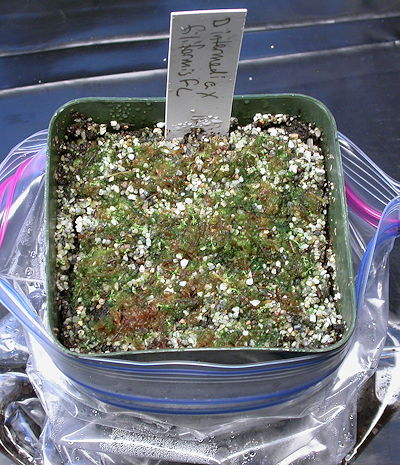
This is a pot of temperate Drosera seedlings. The seeds were stratified in chopped sphagnum moss in the refrigerator. After 4 weeks the moss was spread on the surface of pot with a peat/sand soil. The seeds germinated in three weeks.
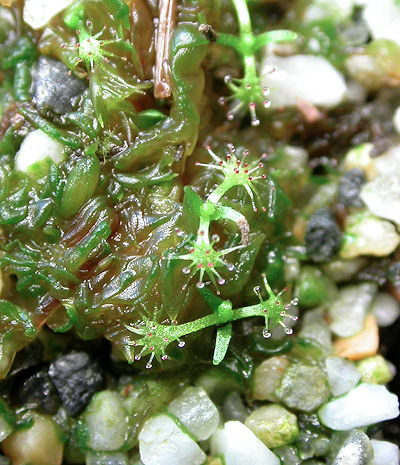
And here they are close up. Note the algae and/or cyanobacteria in the sphagnum moss. I would leave these plants in the bag a little longer until they get established into the soil below the moss.
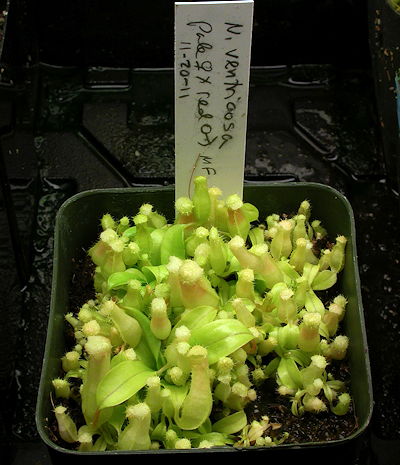
Nepenthes ventricosa seedlings 10 months after sowing. Notice the variation in plant size. Some of that is genetic which is why it is best to plant many more seeds than you need plants so you can select the best plants. It is also possible the extra large plants are hybrids so save more small plants than you want large plants as well.
-- John Brittnacher